What to Know Before You Ride the Camino Francés
Cycling the Camino de Santiago has gotten complicated with all the conflicting advice flying around. Walking guides dominate the internet, bike-specific forums contradict each other, and nobody quite agrees on which sections are even rideable. So let me cut through it.
As someone who spent three weeks on the Camino Francés last April, I learned everything there is to know about cycling this route the hard way. Today, I will share it all with you.
First, the basics. Most cyclists cover the full 780 kilometers — St Jean Pied de Port in France to Santiago de Compostela in Spain — in 10 to 14 days of solid riding. Compare that to the 30-plus days walkers typically need, and you’re looking at an entirely different animal. Different planning, different sleeping arrangements, different sections that are even viable.
I went in expecting a pilgrimage. What I got was a grueling endurance ride dressed up in spiritual language. Those two things aren’t mutually exclusive — but they’re not the same thing either. Worth knowing before you clip in.
Here’s what walking guides consistently gloss over: certain sections near Burgos and León are officially foot-traffic only. Cyclists get pushed onto road alternatives that add distance and completely kill any aesthetic continuity. The route wasn’t designed with bikes in mind. You’re adapting a walking route, not following something cyclist-optimized. That distinction matters more than most people realize.
You’ll also need a Pilgrim Passport — the Credencial. Without it, no Compostela certificate in Santiago, which is the official record of completion. Most cyclists don’t particularly care about the certificate itself, but Spanish hospitality rules require it for staying in the dirt-cheap albergues that line the entire route. Get one before you leave home. Seriously. Don’t make my mistake of assuming you can sort it out at the start.
The Pyrenees crossing on day one isn’t optional, and it’s the hardest single ride you’ll face. If you’re loaded down with 15-plus kilograms of gear on a road bike, consider the Valcarlos alternative instead — longer by about 12 kilometers, but far gentler on both equipment and knees.
Stage by Stage Breakdown with Distances and Surfaces
Probably should have opened with this section, honestly. The stage breakdown determines your daily schedule more than anything else — more than gear, more than fitness, more than the weather.
Rather than following all 33 official walking stages, cyclists typically group them into 8 to 10 longer days. Here’s what the ride actually looks like on the ground.
Day 1: St Jean Pied de Port to Roncesvalles (54 km)
The Pyrenees test. Steep climb out of town on loose gravel and dirt — especially brutal if you take the direct Ibañeta route. The pass sits at 1,460 meters. Surface is mixed: asphalt for the first stretch, then gravel that gets progressively rougher as elevation climbs. The Valcarlos alternative adds 12 kilometers but keeps you on tarmac almost the entire way. Most loaded cyclists choose Valcarlos. That’s the right call.
Day 2: Roncesvalles to Pamplona (46 km)
Fast descent into rolling farmland. Tarmac and compacted gravel, mostly rideable without drama. Pamplona has proper bike shops — this is your repair checkpoint if anything broke on the climb the day before. Don’t skip a mechanical inspection here.
Days 3–5: Pamplona to Logroño (118 km across three days)
This stretch exposes the Camino’s actual condition. You’re mixing unrideable footpath, rough-but-doable gravel farm tracks, and occasional tarmac roads. The “official” Camino route here is basically hiking-only. Most cyclists follow the road alternative via Estella — adds 15 kilometers, keeps you moving. Surface breaks down to roughly 80 percent asphalt, 20 percent decent gravel.
Days 6–8: Logroño to Burgos (180 km across three days)
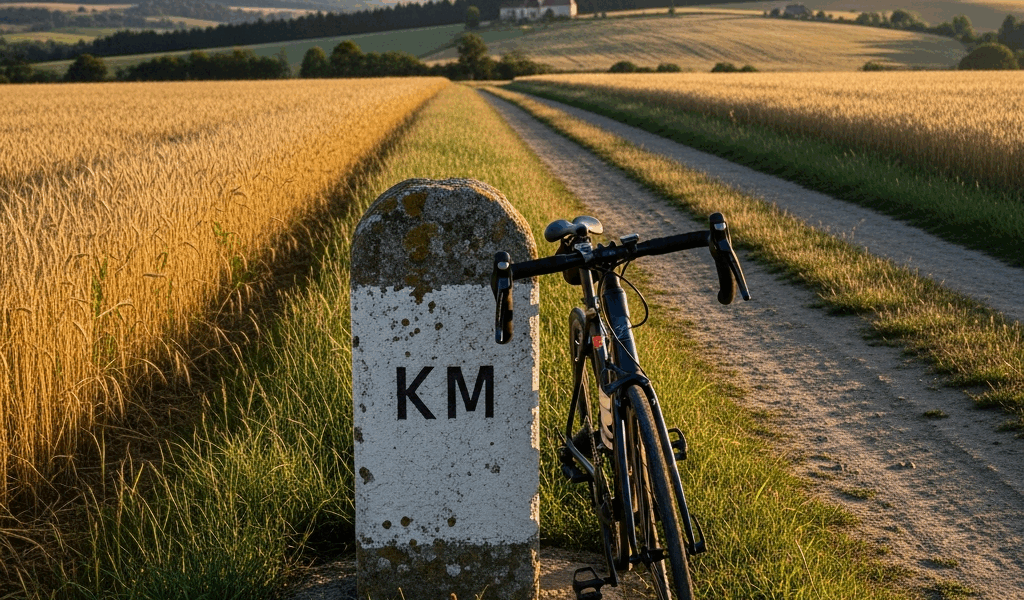
The Meseta begins. This is where cycling wins decisively over walking. Terrain flattens completely — endless grain fields under enormous skies. The official route has been largely replaced by road alternatives here, so surface is almost entirely tarmac. You’re realistically looking at 70 to 90 kilometers per day. Wind exposure is real and headwinds slow you down hard. No shade. Minimal water sources. Carry four liters minimum — not three, four.
Days 9–10: Burgos to León (186 km across two days)
Still Meseta, still fast. Official Camino here is scattered across footpaths and gravel; cyclists stick entirely to roads. Tarmac only. Both towns are major stops with full services. León is your last proper city before the final push west.
Day 11: León to Astorga (48 km)
Rolling terrain resumes. Tarmac with some gravel sections. The landscape changes noticeably — greener, more forested Spain starts asserting itself. Short day, intentionally. Use it.
Days 12–13: Astorga to Santiago (260 km across two days)
Final push through Galicia. Terrain is varied — some steep climbs, nothing close to day one. Surface alternates between tarmac and packed gravel. The last 40 kilometers into Santiago follow beautiful single-track and forest roads, mostly rideable, a few sections requiring you to walk the bike. Worth every meter.
Bike Setup and Gear for the Camino
But what is the right bike for this route? In essence, it’s anything with wide tires and relaxed geometry. But it’s much more than that — your bike choice determines how much the route punishes you on every single mixed-surface section.
I’m apparently a touring bike person and my 2023 Trek 520 steel frame with 700x45mm tires and full panniers works for me while road bikes never handle the rough stuff without a fight. Zero mechanical failures across 780 kilometers. Make of that what you will.
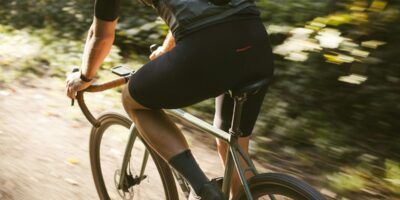
A touring bike or gravel bike is ideal. Both handle rough surfaces, accept wide tires — 35mm minimum, seriously, don’t go narrower — and provide relaxed geometry for loaded riding. Hardtail mountain bikes work fine if you’re not overloaded. Road bikes are a mistake; rough sections destroy them and you’ll feel every rock through the handlebar tape.
On tires: my 45mm Schwalbe G-One All Rounds ate the gravel sections without complaint and never pinch-flatted despite hard braking on descents. That’s worth the weight penalty. Budget around €120 to €150 per tire — at least if you want to avoid standing beside a deflated bike somewhere in the middle of the Meseta.
Panniers beat bikepacking bags for the Camino. You need to lock your bike at albergues, and you want gear sitting low and stable. The Ortlieb QL3 system runs about €300 for a full setup. Worth every cent.
Repair capacity matters more than looking fast. Carry a full toolkit: Allen keys in multiple sizes, cable cutters, spare chain links, a spoke wrench, and at least two spare tubes. The Meseta sections have massive gaps between towns — mechanical failure at kilometer 50 of a 90-kilometer day is a genuine problem with no easy solution. I replaced my chain in Burgos after 400 kilometers of sand and grit wore through it faster than expected. Don’t make my mistake; check yours earlier.
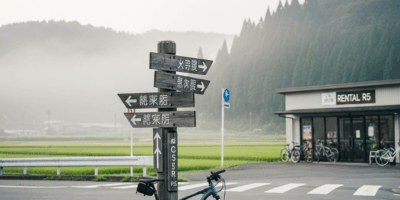
Pamplona has quality bike shops — Bicicletas Mardel is solid and reasonably priced. Burgos has a few options. León has several. Santiago has multiple. Small villages between them don’t. Plan accordingly.
Water carrying on the Meseta is non-negotiable. Four liters minimum for exposed sections. Refill at every town, even if you don’t need it yet. Dehydration kills motivation faster than mechanical problems do.
Where to Sleep with a Bike on the Camino
Albergues are the Camino’s backbone — at least if you want to keep daily costs under control. Most have bike storage. Reality check: it’s often a basic outdoor rack or a locked shed, not climate-controlled. Your bike will sit outside in rain at some point. That’s fine if you’ve used adequate chain lubrication.
Municipal albergues are first-come, first-served. Since you’re covering 70 to 90 kilometers per day, you arrive around 3 to 4 PM when walkers are still an hour or two out. First choice of beds, first access to storage, first hot shower. Genuine advantage. But miss a day and you’re arriving in the evening chaos when storage gets disorganized fast.
Book ahead using Gronze or the Buen Camino app — at least if you’re traveling April through October. A bed in a municipal albergue runs about €6 to €8. Add locked bike storage and a communal dinner and you’re looking at €15 total. Hotels cost €40 to €80. Some cyclists alternate — albergue, hotel, albergue — to avoid the social exhaustion of constant bunking with 50 strangers. That’s apparently what works for a lot of people by the second week.
Peak season hits hardest April through May and September through October. Summer is brutally hot. August specifically is swarming with tourists and the albergues are chaotic. January is cold and very quiet. Spring is the sweet spot for cycling — temperate weather, moderate accommodation pressure.
Practical Tips for Riding the Route Successfully
Get your Credencial before leaving home. Most pilgrimage organizations in your home country can mail one to you — usually €3 to €5. If you wait and grab it in St Jean Pied de Port, expect lines and potential shortages in peak season. That’s a stressful way to start 780 kilometers.
Bikes fly on most European trains, but check your specific carrier. SNCF trains from Paris to St Jean Pied de Port require a bike reservation — €10 — and your bike needs to go in a soft bag or hard case. Budget an extra day for this logistics chain. It always takes longer than you expect.
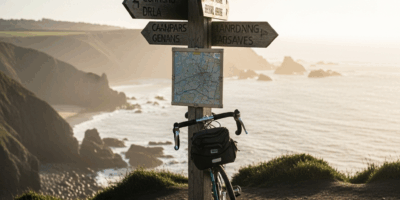
Getting to Santiago is only half the story. The final 90 kilometers out to Finisterre — Spain’s western edge, where the land literally ends — is iconic for cyclists. Coastal views, dramatic cliffs, tiny fishing villages. Worth the extra two days if your schedule allows it.
The Compostela certificate technically requires only a minimum of 100 kilometers walked or cycled. Any single section over that threshold qualifies, so you could theoretically skip the beginning entirely. Don’t. The Pyrenees climb is formative — even at speed, even loaded with panniers. Missing it means missing the thing that puts everything else into context.
Start conservatively. Fifty kilometers on day one feels manageable. Day three is when 80-kilometer days start feeling achievable. By day six, 90-kilometer days happen without much deliberate thought. By day twelve you’re tired and covering ground fast on sheer momentum alone. That progression is the whole experience — don’t short-circuit it by going too hard too early.
Your legs adapt faster than your mind. The hardest part isn’t physical. It’s the repetitive monotony of the Meseta and the mental fatigue of sleeping in crowded rooms with rotating strangers every night. Headphones, audiobooks, and podcasts become essential equipment, not luxuries. Pack them accordingly.
That’s what makes the Camino Francés endearing to us cyclists — it’s harder than it looks on paper, more complicated than walking guides suggest, and entirely worth the effort. You notice the Pyrenees because you’re fighting them. You understand the Meseta’s scale because you’re crossing it fast and it still takes three days. You earn Santiago differently than walkers do. Not better, not worse — differently.
So, without further ado: do it in spring. Bring a gravel bike or a touring rig. Get your Credencial sorted before you leave home. And accept from the start that you’re not doing what the guidebooks describe. You’re doing something built for moving fast through ancient landscape — and that’s a better fit than most people expect.
Stay in the loop
Get the latest cycle routes world updates delivered to your inbox.