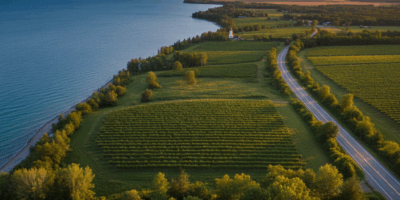
The 72-mile loop around Lake Tahoe is one of cycling’s true bucket-list rides. Straddling the California-Nevada border at 6,200 feet elevation, this route delivers stunning alpine scenery, legitimate climbing challenges, and the bragging rights of circling the largest alpine lake in North America.

I’ve ridden this loop three times now—once in June during perfect conditions, once in September when the aspens were turning gold, and once in August when I made the mistake of starting at 10am and battled tourist traffic the entire way. Here’s everything you need to know before you go.
Route Overview: The Numbers That Matter
Let’s start with the basics:
- Distance: 72 miles (some GPS units will read 71-74 depending on exact route)
- Elevation Gain: Approximately 4,000 feet
- Base Elevation: 6,200 feet (the lake surface)
- Time to Complete: 4-5 hours for fit cyclists
- Difficulty: Intermediate to advanced (more about endurance than steep grades)
The climbing is spread throughout the route rather than concentrated in one monster ascent. The steepest quarter-mile segment tops out at about 8%—challenging but manageable. What makes this ride difficult is the combination of distance, altitude, and cumulative elevation gain.
Which Direction Should You Ride?
This question sparks genuine debate among Tahoe cyclists:
Clockwise (recommended for most riders): Keeps the lake on your right, meaning you’re on the lake side of the road with better views. You’ll tackle the Emerald Bay climb earlier when your legs are fresh. Most organized events go clockwise.
Counter-clockwise: Puts you on the mountain side of the road, which some riders prefer for safety—there are steep drop-offs in sections, and being away from the edge can feel more secure. You’ll also have better sightlines when cars pass.
My recommendation: Go clockwise, start early, and you’ll have the best of both worlds—stunning views and minimal traffic.
The Route, Section by Section
South Shore to Emerald Bay (Miles 0-20)
Most riders start from South Lake Tahoe. The first 10 miles are relatively flat as you roll through the casino district and past Camp Richardson. Then the road begins to climb toward Emerald Bay State Park.
The climb from D.L. Bliss State Park to the Emerald Bay overlook is the route’s signature challenge. It’s not brutally steep—averaging around 5-6%—but it comes with stunning views that make you want to stop constantly. Resist the urge to burn too many matches here; you’ve got 50+ miles to go.
Emerald Bay to Tahoe City (Miles 20-45)
The descent from Emerald Bay is fast and technical with some tight corners. Keep your speed in check—tourist traffic can appear suddenly, and the shoulder disappears in places.
The west shore between Emerald Bay and Tahoe City is relatively flat with rolling terrain. This is your recovery section. Take advantage of it to eat, drink, and enjoy the views of the lake’s crystal-clear water.
Tahoe City to Incline Village (Miles 45-60)
You’ll cross from California into Nevada around Crystal Bay. The north shore is busier with traffic but offers consistent shoulder space. The climb from Kings Beach toward the Highway 50/28 junction is the second major climbing section—about 600 feet of gain over a few miles.
Incline Village to South Shore (Miles 60-72)
The east shore is your victory lap. It’s mostly downhill or flat back to South Lake Tahoe. The views of the lake from the Nevada side are spectacular, especially in afternoon light when the water turns impossibly blue.
When to Ride: Timing Is Everything
Best Months: May through October, with June and September being ideal. July and August bring the heaviest traffic.
Best Day: Sunday morning. Weekday mornings are even better if you can swing it.
Start Time: No later than 7am in summer. The road gets crowded fast, especially near Emerald Bay where the highway narrows to two lanes with no shoulder.
Weather Considerations: Afternoon thunderstorms are common in summer. The altitude means temperatures can swing 30 degrees between dawn and midday. Bring arm warmers even in July.
Organized Events
If you prefer the support of an organized ride:
America’s Most Beautiful Bike Ride (June) — The flagship Tahoe cycling event, now benefiting the Leukemia & Lymphoma Society. Offers 35, 72, and 100-mile options. Expect 2,500+ riders and full SAG support.
Tour de Tahoe (September) — A 72-mile loop with beautiful early fall weather. Generally less crowded than the June event.
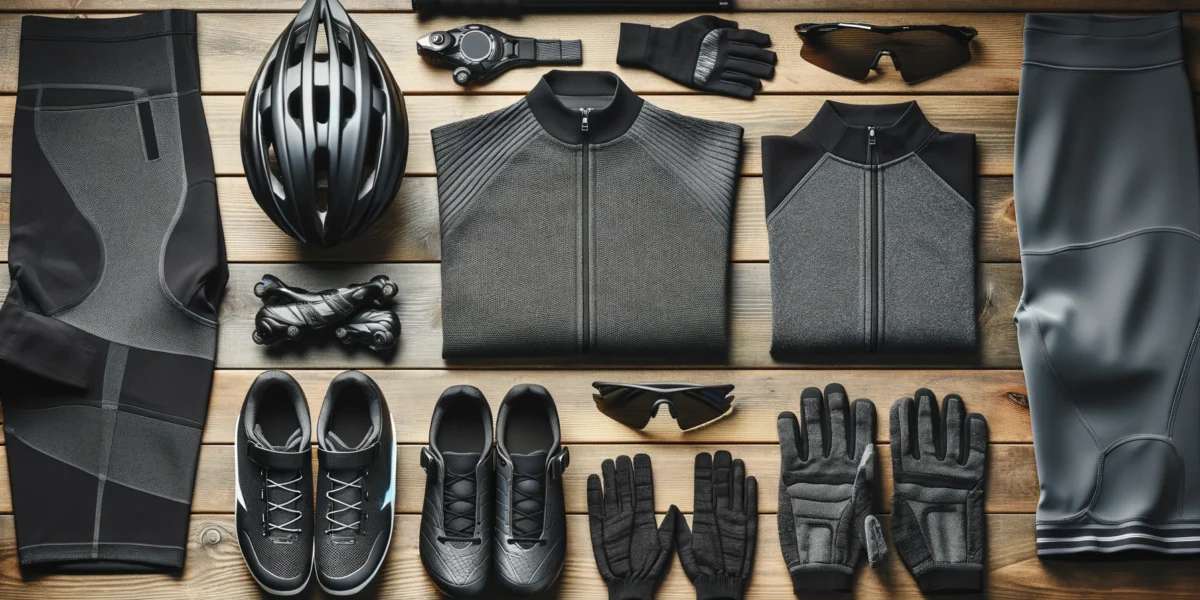
Gear Recommendations
The combination of distance, climbing, and altitude means you need to be strategic about what you bring.
Navigation
While the route is straightforward (stay on the highway and keep the lake in sight), a GPS computer is valuable for tracking your progress and navigating to services. The Garmin Edge 540 is the sweet spot for most cyclists—reliable navigation, excellent battery life (26+ hours), and the ClimbPro feature that shows remaining ascent is perfect for pacing yourself on Tahoe’s extended climbs.
Check Garmin Edge 540 Price on Amazon
Hydration
At 6,200+ feet elevation, you’ll dehydrate faster than you expect. I recommend carrying at least 70oz of fluid. The CamelBak Classic holds 85oz and sits comfortably on your back for the full 4-5 hour ride. You’ll pass plenty of places to refill—gas stations in Tahoe City and convenience stores on the east shore—but don’t count on them during early morning hours.
Check CamelBak Classic Price on Amazon
Other Essentials
- Sunscreen: UV intensity is 25% higher at this altitude
- Arm warmers and vest: Morning temperatures can be in the 40s even in summer
- 2-3 tubes and CO2: Long stretches have no cell service
- Food: Plan for 300-400 calories per hour. Energy gels, bars, and real food at rest stops
Altitude Considerations
If you’re coming from sea level, don’t underestimate the altitude. At 6,200 feet, you have about 20% less oxygen available. Plan to:
- Arrive 1-2 days early if possible to acclimate
- Start conservatively—if you blow up at mile 30, it’s a long way home
- Drink more than you think you need
- Lower your power expectations by 10-15%
Pro Tips From a Tahoe Regular
Park at the Y (South Lake Tahoe): Free parking and easy access to the route. The Raley’s shopping center is a popular starting point.
Bring cash: Some of the smaller convenience stores on the route are cash-only or have spotty card readers.
Download offline maps: Cell service is unreliable on sections of the west and north shores.
Check road conditions: The loop typically opens fully by late May, but snow years can delay access. Check Caltrans and NDOT websites before you go.
Book accommodation in advance: Tahoe is a tourist destination. Summer weekends book up months in advance.
Is It Worth It?
Absolutely. There’s a reason this ride consistently appears on “best cycling routes in America” lists. The combination of crystal-clear alpine water, Sierra Nevada peaks, and well-maintained roads creates something special.
Just respect the distance and altitude, start early, and you’ll understand why cyclists have been making the pilgrimage to Tahoe for decades.
Last updated: December 2025. Route conditions can change—verify current status before your ride.
This article contains affiliate links. Purchases made through these links help support our site at no additional cost to you.


Stay in the loop
Get the latest cycle routes world updates delivered to your inbox.